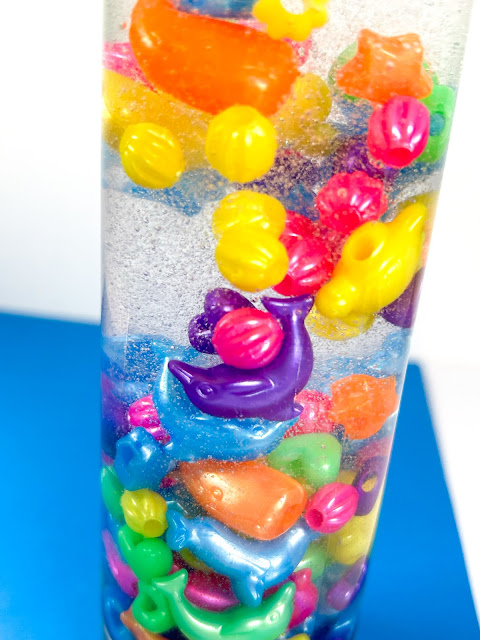
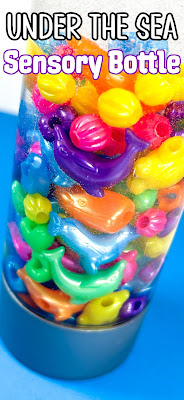
This Under the Sea themed sensory bottle is so fun and visually stimulating. Engage your kids with vibrant colors and identifying colors and ocean animals.
This post may contain Amazon Affiliate links. Sweet Hazel Honey may receive a small commission for Amazon purchases made though these links at no cost to you. Thanks for your support!
Looking for more crafts, recipes, activities and other kid friendly ideas?
Follow me! Facebook, Pinterest or subscribe by email here!
Sensory bottles are always so fun to make and play with! Today's Under the Sea bottle is colorful and so simple to assemble.
What are sensory bottles?
Sensory bottles are usually filled with liquid and small objects. They create a relaxing and engaging experience for kiddos, stimulating many of their senses.
This sea sensory bottle can also be used as a learning tool. Children can identify colors, shapes, sea life animals, and more.
The older kiddos can make their own bottles and the littles can too with some help and supervision. This is something they can come back to and play with time and time again.
Keep scrolling for tips, process photos, additional sensory bottle ideas and more!
Thanks so much for supporting a small business and visiting our family owned blog 💕
What supplies do you need?
- 16 ounce sensory bottle
- 1 - 9 ounce bottle of clear glue
- plastic sea life beads
- bright beads
- water
Scroll down for measurements, instructions and printing!
Helpful tips:
- If you notice the bottle bubbling up, you can skim the bubbles off with a spoon and discard.
- If you'd like to seal, apply a small amount of glue where the cap meets the bottle. You can also use decorative tape around the seal after the bottle is closed.
- You can use small sea themed animals instead of beads.
- Add a small amount of glitter for a shimmering effect.
sea themed food to pair with this activity:
More sensory bottle activities you may like:
- Popsicle Sensory Bottle
- Color Changing Sensory Bottle
- Easter Look and Find Sensory Bottle
- Pom Pom Sensory Bottle
- Foolproof Calm Bottle
Sea themed books to pair with this activity:
- My First Book of Ocean Animals
- National Geographic Readers: In the Ocean
- Commotion in the Ocean
- I Spy Ocean Animals
I hope you enjoy this activity as much as our family did!

Under the Sea Sensory Bottle
materials:
- 1 - 16 ounce sensory bottle
- 1 - 9 ounce bottle of clear glue
- plastic sea life beads
- bright beads
- water
steps:
- Pour the bottle of glue into the sensory bottle.
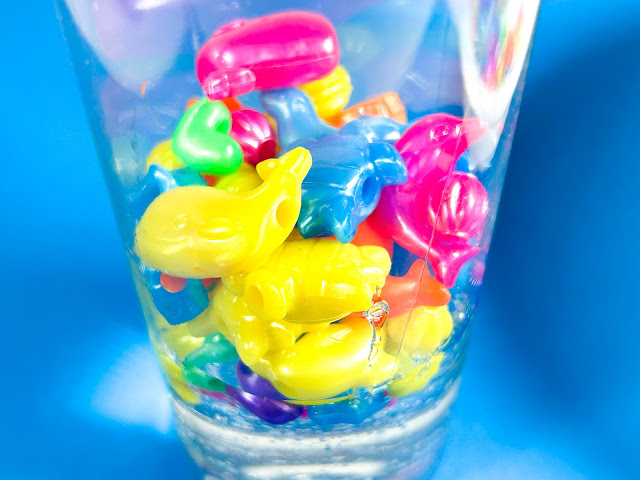
- Add the beads to the bottle, as many as you want.
- Fill the remainder of the bottle with water, leaving a small amount of space. Do not overfill. Close the bottle and shake well.
- Invite the child to engage with the sensory bottle. Children can identify colors, shapes, sea life animals, and more.
NOTES:
If you notice the bottle bubbling up, you can skim the bubbles off with a spoon and discard.

If you'd like to seal, apply a small amount of glue where the cap meets the bottle. You can also use decorative tape around the seal after the bottle is closed.
Thanks so much for stopping by!
Around this time in blog history....
One year ago:
Looking for more crafts, recipes, activities and ideas?
Follow me! Facebook, Pinterest or subscribe by email!


Comments
Post a Comment